I’m big on variety. The spice of life.
So why another mug sweater pattern?
Well, once I got started, the requests kept coming.
And of course, I had to make them all different.
And it seems that the high demand goes beyond my family and friends.
Months later, my trio of mug sweater designs is still the most popular thing on Spicy Life.
So here you go.
Number four.
This design uses a stitch I first discovered in a fingerless mitt pattern.
I love its texture and subtlety.
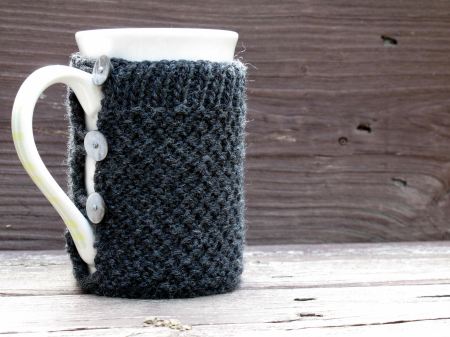
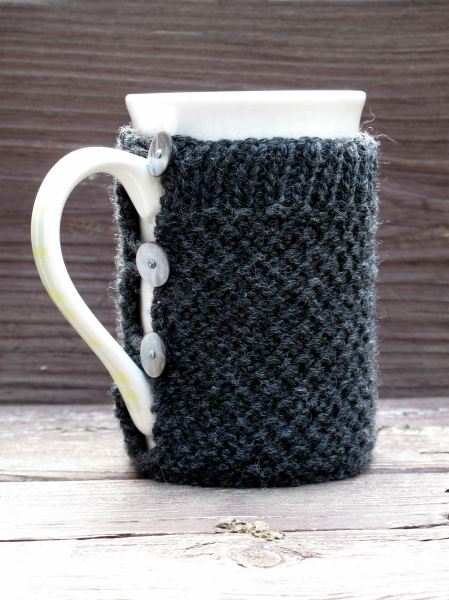
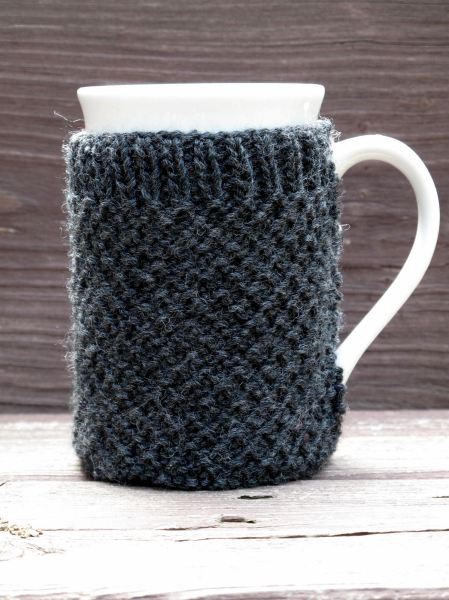
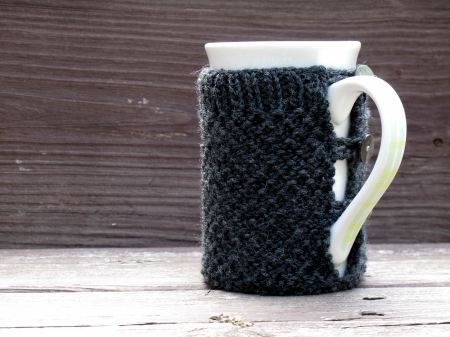
Linen Ridge Mug Sweater
Size: Fits a mug 3 ¼” (8.5 cm) in diameter, 3 ¾-4 ½” (10-12 cm) tall
Materials: Worsted-weight yarn, size 5 double-pointed needles, buttons, small crochet hook
Gauge: This project isn’t large enough to make it worth your while to make a swatch. Just measure it against your mug as you go. (If you switch it to a circular needle, you can try it on.)
CO 1 st, using a slip knot.
RS: K1, p1, k1 in same st. (3 sts)
Pass stitches to the other end of the needle and knit on the RS again (as for an i-cord): Kfb each stitch. (6 sts)
Repeat last row. (12 sts)
Divide the 12 sts onto 3 dp needles.
Round 1: *Kfb, k1, repeat from*
Round 2 (and all even rounds): Knit.
Round 3: Repeat round 1
Round 5: *Kfb, k2, repeat from* (36 sts)
Round 7: *Kfb, k3, repeat from* (45 sts)
Round 9: *Kfb, k4, repeat from* (54 sts)
Round 10: Knit.
You should now have a flat circle the same size as the base of your mug. If you need to make it a bit larger, knit additional increase rounds according to the same pattern.
Round 11: Purl.
Round 12: *With yarn in back (wyib) sl1, p1, repeat from *
Round 13: Purl.
Round 14: *P1, wyib sl1, repeat from *
Now turn the work inside out and knit on the WS. From now on, work the piece back and forth rather than in the round.
Row 1 (WS): Knit.
Row 2: *Wyib sl1, p1, repeat from *
Row 3: Knit.
Row 4: *P1, wyib sl1, repeat from *
Repeat these 4 rows until the piece should measure about three inches (8 cm) high, or about half an inch (1.5 cm) shorter than your desired height.
Work in k1, p1 ribbing for 6 rows, or to your desired height.
BO in pattern. (Here’s an easy way to bind off this piece neatly: Work RS row again. Then, with the RS facing you, go back to the beginning of the row. Sl 2 sts purlwise onto your left-hand needle. Pass the first over the second. Continue in the manner until all sts are bound off.)
Weave in ends.
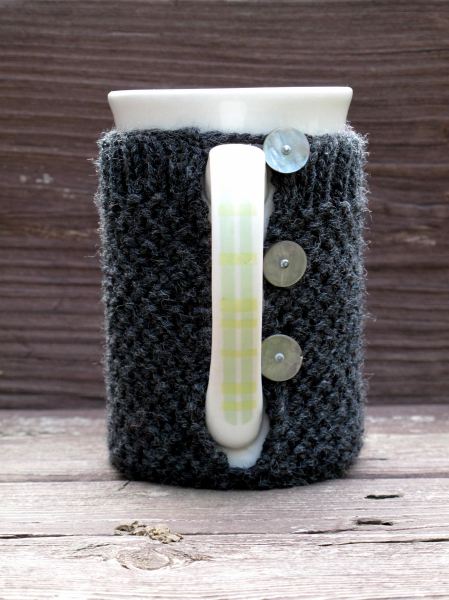
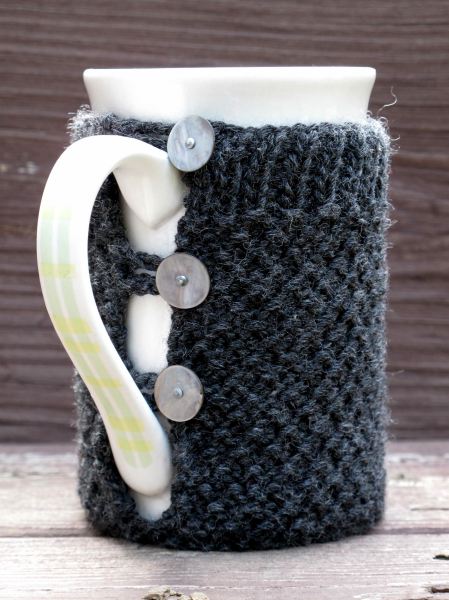
Choose the placement of your buttons and sew them to one edge. For each loop, crochet a chain approximately 1 ½” (4 cm) long. Sew these to the opposite edge.
(You may want to start by attaching one end of each loop, leaving the other free to adjust the length before you sew it down.)
Weave in ends.
There she is!
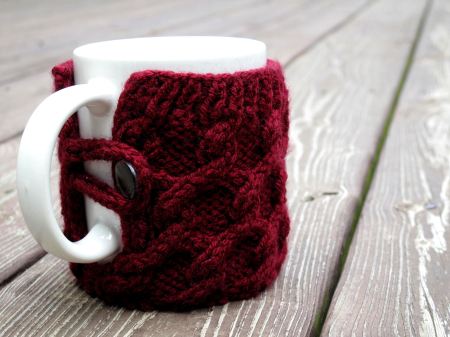
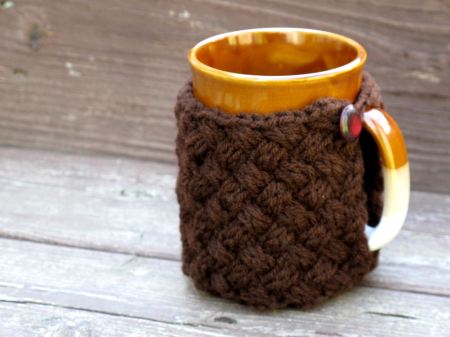
And if you’re on the hunt for different designs to meet your own set of demands, check these out:
Or see all of my designs on Ravelry.
These are just so lovely. Thank you for sharing :)
Pingback: warm and cozy decor inspiration
I love these! I have a medical condition where heat and cold cause great pain so these are wonderful! Cancer patients would love them, too! Thanks so much for sharing!
I LOVE these patterns!! This is my first attempt at knitting with dpn. My question is after you finish knitting in the round and are working back and forth, do you still need to use 4 needles or can you use two like you would in regular knitting. Thank you for sharing!
When working back and forth, you can use two needles. It might be inconvenient to switch right away, since the work is not flat, but whenever it works for you is great!
On Sun, Jan 10, 2016 at 10:13 PM, Spicy Life wrote:
>
I love all these designs! Thank you so much🥰